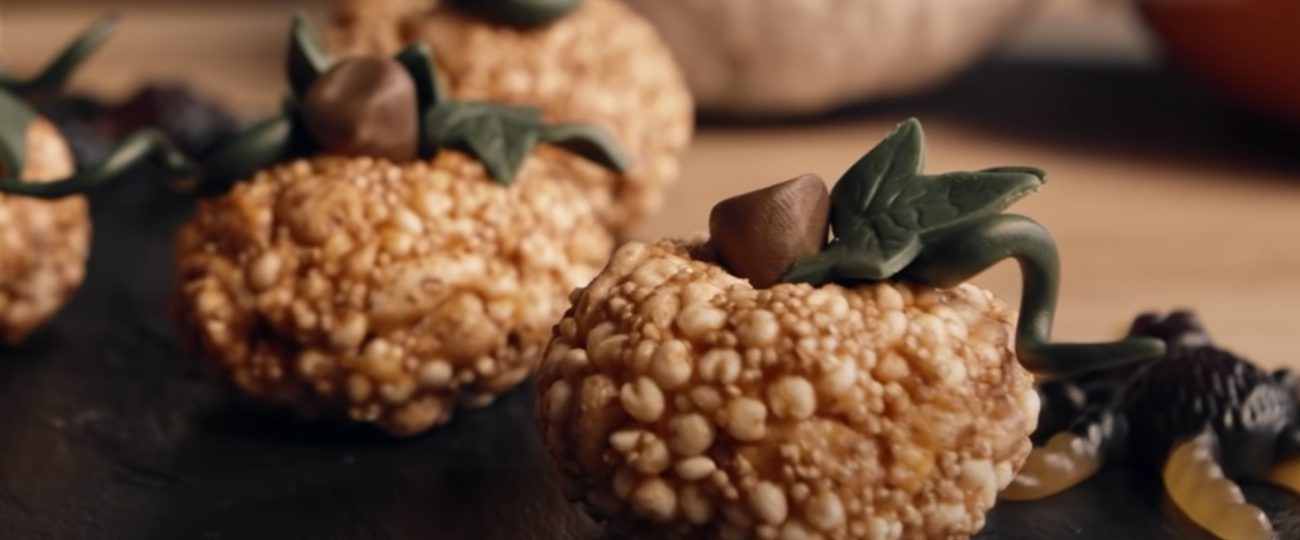
Halloween can be… frightfully sweet! Pumpkin-shaped snacks made from expanded grains are a blast from the past for adults and super fun for everyone – regardless of age! Prepare these pumpkins and surprise your guests!
Ingredients
For the Pumpkin-Shaped Seed Snacks:
- White chocolate – 100 g
- Brown sugar paste – 20 g
- Expanded buckwheat – 150 g
- Food coloring – 10 g
- Grated orange zest – 0.5 tablespoon
- Green sugar paste – 60 g
For the Pumpkin Purée:
- Baked pumpkin – 100 g
Preparation:
Step 1: Prepare the Pumpkin Purée Mash the flesh from the baked pumpkin with a spoon into a bowl through a fine-mesh sieve.
Step 2: Combine Chocolate with Expanded Grains Crush the chocolate into a bowl and melt it in the microwave or melt it in a saucepan over low heat. Add the expanded grains to the melted chocolate: buckwheat, millet, and amaranth. Mix everything together.
Step 3: Add the Remaining Ingredients To the chocolate mixed with grains, add orange food coloring, grated orange zest, and 2 tablespoons of pumpkin purée. Mix everything thoroughly.
Step 4: Shape the Pumpkins Form the chocolate mixture with grains into balls of different sizes. Slightly flatten each one. Use your finger to create a small indentation on the top of each pumpkin (a place for decorations made of sugar paste: coils, stems, and leaves). Place the formed pumpkins in the refrigerator while preparing the decorations.
Step 5: Prepare the Decorations Coils:
- Divide half of the green sugar paste into small balls (prepare as many balls as you have pumpkins made from expanded seeds). Roll each ball in your hands to form a thicker roll on one side and a thinner one on the other. Twist the rolls as desired to resemble coils.
Stems:
- Divide the brown sugar paste into parts corresponding to the number of pumpkins. Form each part into a ball, then stretch it with your fingers in one direction to form a cone shape.
Leaves:
- Form the remaining portion of green sugar paste into a ball and place it between two sheets of parchment paper. Roll out the paste into a flat, thin sheet. Cut out leaves using a cookie cutter or knife.
Step 6: Decorate the Pumpkins Remove the chilled seed pumpkins from the refrigerator and decorate them: press the stems into the indentation made in the pumpkins. Add coils and leaves.


